Les Tata Busana Cibubur, di Citra Gran, Kota Wisata, Legenda Wisata, Mahogany Residence, Puri Sriwedari, dan Sekitarnya

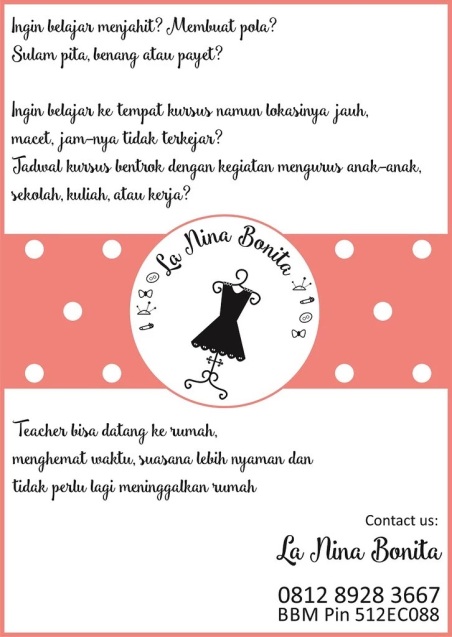
Ingin belajar menjahit?

Membuat pola?

Atau menyulam?

Bingung lihat tutorial di internet?

Mending belajar ke ahlinya…

Yang belajar semua umur lho, jadi ngga usah takut kemudaan atau ketuaan untuk memulai!

Pengajar di LA NINA BONITA membantu siswa-siswi mulai dari pra remaja, dewasa hingga beberapa siswa yang telah menjalani masa pensiun yang tertarik dengan seni menjahit, sulam pita, payet, dan sebagainya.

Contact us:

CUSTOMER SERVICE

LA NINA BONITA0812 8928 3667

Call/sms/whatsapp/line

BBM Pin 512EC088

email: laninabonita.sewingcourse@gmail.com

http://www.facebook.com/la.alfabeta

Kunjungi official webiste kami di :

LA NINA BONITA

Belajar Membuat Tas? Belajar sampai bisa di La Nina Bonita! Tutor bisa datang ke rumah siswa!

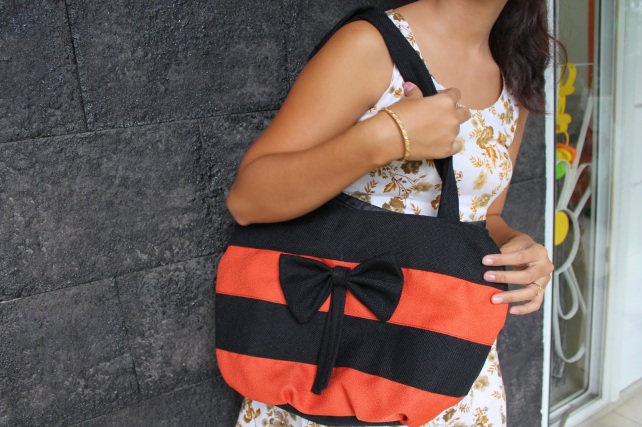
Pengen belajar membuat tas? Membuat clutch? Membuat tote bag?  IMG_0482

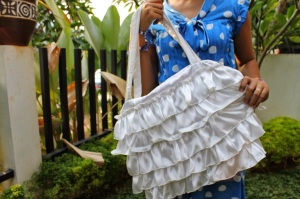
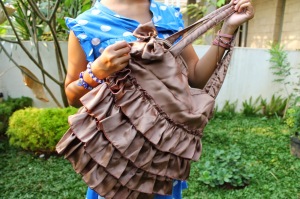
Atau bahkan bikin ruffles bag yang lucu-lucu kayak gini?

IMG_0557 IMG_0564

Ayo belajar bikin tas. Ngga susah kok. Semua umur boleh coba, ngga perlu keluar rumah untuk kursus di luar.

Contact us:

LOGO

CUSTOMER SERVICE LA NINA BONITA

0812 8928 3667
Call/sms/whatsapp/line
BBM Pin 512EC088
email: laninabonita.sewingcourse@gmail.com
http://www.facebook.com/la.alfabeta

Les Menjahit untuk semua umur, datang ke rumah siswa, La Nina Bonita

Ingin belajar menjahit?

Membuat pola?

Atau menyulam?

Bingung lihat tutorial di internet?

Mending belajar ke ahlinya… Yang belajar semua umur lho, jadi ngga usah takut kemudaan atau ketuaan untuk memulai!

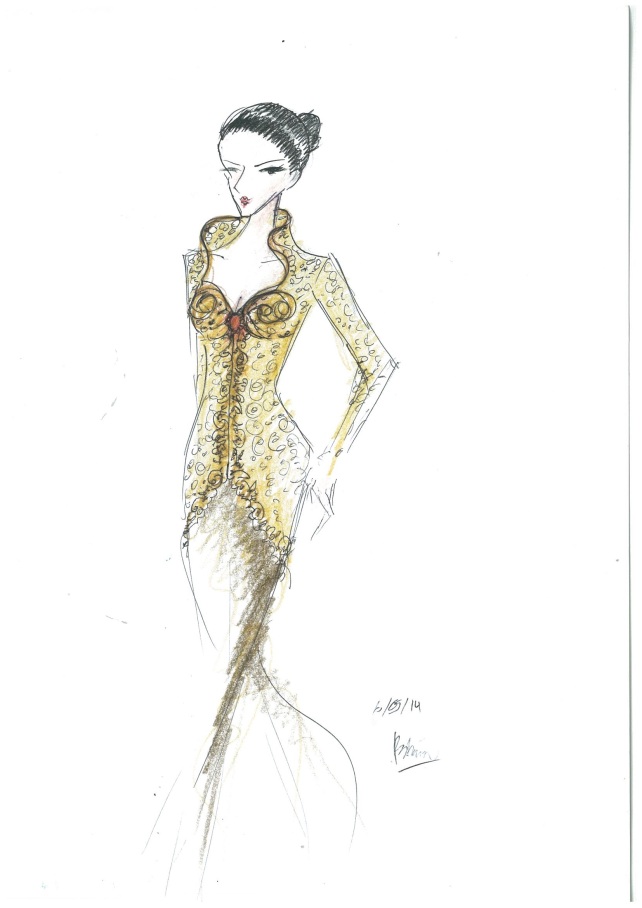
img-807122633-0001 img-807122609-0001 img-807122657-0001 (1) img-807122550-0001

Contact us:

CUSTOMER SERVICE

LA NINA BONITA
0812 8928 3667
Call/sms/whatsapp/line
BBM Pin 512EC088
email: laninabonita.sewingcourse@gmail.com
http://www.facebook.com/la.alfabeta

Les Menjahit Cibubur, Kursus Menjahit Cibubur, untuk remaja hingga dewasa, datang ke rumah, lebih nyaman belajar!

LOGO

LA NINA BONITA, merupakan divisi ketiga dari LA ALFABETA sesudah Science Division dan Art & Design Division berdiri dan kemudian menjadi divisi mandiri meskipun masih satu naungan bersama LA ALFABETA (info lebih mengenai La Alfabeta kunjungi http://laalfabeta.wordpress.com/).

LA NINA BONITA berdiri menjadi divisi baru yang di resmikan oleh oleh owner Serenata Private Music Course (Info lebih mengenai SPMC kunjungi http://serenataprivatemusiccourse.com/), Aldis Priandrani bersama sahabatnya, Ratrina Rofiati pada 1 Agustus 2015. Keduanya merupakan founder dan co-founder dari La Alfabeta yang berdiri pada 1 Desember 2013.

Pengajar di LA NINA BONITA membantu siswa-siswi mulai dari pra remaja, dewasa hingga beberapa siswa yang telah menjalani masa pensiun yang tertarik dengan seni menjahit, sulam pita, payet, dan sebagainya.

img-807122550-0001img-807122633-0001img-807122609-0001

Flyer1

Contact us:

CUSTOMER SERVICE

LA NINA BONITA
0812 8928 3667
Call/sms/whatsapp/line
BBM Pin 512EC088
email: laninabonita.sewingcourse@gmail.com
http://www.facebook.com/la.alfabeta

Apple Envelope Clutch

Here’s what you’ll need:
1/3 yard* of fabric for exterior – I used Alexander Henry’s Apples & Pears in Brown
1/3 yard* of fabric for interior – I used Kaffe Fassett’s Spots in Red
1/3 yard* decor bond
spool of coordinating thread
fabric marker on chalk pencil
*you will need more if you decide to enlarge your clutch.
Here’s how it’s made:

First open, download and print the pattern (and if you wish to rescale simply print or copy at whatever percent you like i.e. 50%, 75%, 150%…)
Next Cut all pieces.
First cut your 3 full pieces on the fold; one from exterior fabric, one from interior fabric and one from decor bond. Using a fabric chalk or marker, transfer dots onto large exterior piece.
Then fold pattern at dash-line and place on fold and cut one from exterior fabric, 3 from interior fabric and two from decor bond.
Iron decor bond onto wrong-side of both exterior pieces and one small interior piece.

Next with right-sides facing attach the small exterior piece to one of the small lining pieces (without decor-bond) by sewing across the top with a 1/4 seam-allowance. Press seam open, fold right-sides out and press flat.
Do the same with the small lining piece w/decor bond and remaining small lining pieces. This will be your interior divider.
Now with right-sides facing attach the two larger pieces. Sew across rounded top from one dot to the other with a 1/4″ seam-allowance. Clip along this top seam-allowance every few inches, being sure not to cut into your stitches.
Turn right-sides out and press well.
Lay out pieces (as shown bellow). Start with largest piece first, lay exterior side up, next lay smaller exterior piece, exterior fabric facing down, finally place interior dividing piece on top.
Pin together and sew around all three sides with a 1/4″ seam-allowance. Carefully trim seam-allowance to 1/8th inch.
Turn exterior sides facing out. Press neatly.
Have fun choosing a button.
 Finally, stitch your buttonhole and sew on your button.

Now go out and enjoy.

Twenty Minute Tote

This tote bag pattern is one of our most popular projects and it is easy to see why! You can carry anything in the twenty minute tote, and you can make a dozen of them since it sews up so quickly! Use this sewing tutorial to learn how to sew your own purse in whatever fabric you want. Because it’s such a fast sewing project to make, you can opt to use this tutorial when tackling a hefty amount of gift bags or party favors. Don’t wait another minute to try this twenty minute DIY.

Twenty Minute Tote

Time to complete: Under an hour

Sewn by: Machine

We have remade these awesome, simple bags for fall! This time around, I used a gorgeous new collection of upholstery weight cotton called Outside Oslo. These bold, stylish prints are sophisticated without being serious and come in a rich palette of colors perfect for fall. I added some sturdy contrasting cotton webbing handles for a pop of color, and I love the way they came out! The new materials are as follows:

To make one tote bag:

  • 1/2- yard of Outside Oslo Fabric. I used (clockwise from top left): Dawn Frond, Dawn Sticks, Dusk Wildflower,  and Dawn Picket
  • 2 yards of 1-inch cotton webbing to compliment your fabric. I used (clockwise from top left): Taupe, Turquoise, Turquoise, and Yellow.
  • Cotton thread to match your fabric
  • Cotton thread to contrast with the inside of the bag

These totes really do come together in 20 minutes a piece which makes them a great, quick, way to add a little Springtime color and excitement into the dull end of Winter months. To make one tote bag:

  • 1/2-yard of Kokka Apples. I used Pink Mini Apples, Orange Mini Apples, Blue Mini Apples, and Green Large Apples
  • 2 yards of 1-inch cotton webbing to compliment your fabric. I used Natural, Yellow, Turquoise, and Green
  • Cotton thread to match your fabric
  • Cotton thread to contrast with the inside of the bag

The Original

The fabric in these how to shots is from Echino and is now out of print but you can see more from the same designer, Etsuko Furuya here.

 Cutting

Cut two 16-inch tall by 14-inch wide panels from the fabric. Make sure the pattern is going the correct direction on both panels.

Cut two 22 1/2-inch long pieces from the webbing.

Attaching Handles and Hemming the Top

Pin the handle pieces to the top raw edge of the right side of each panel 3-inches from the sides. The raw edges of the handles should match up with the raw edge of the top of the panel so the handles will be facing down as shown in the picture above. Make sure the handles aren’t twisted.

Using the contrasting thread sew a zig zag stitch across the  top edge, sewing the handle to the top edge in the process.

This zig zag stitch should be right at the edge of the fabric as shown above.

Turn the panels so their wrong sides are facing up. Press and pin their top edges with the handles down 1 1/2-inches

Make sure to pin the handle so it’s perpendicular to the horizontal sides.

Sew this fold down with the matching thread a 1/4 inch from to top edge and then with a second seam 1/4-inch from the bottom zig zag stitch.

The handle will now be attached and the top hem sewn down on both panels. You’re now ready to sew the bag together.

Sewing the Bag Together

Pin the panels right sides together and sew along the sides and bottom 1/2-inch from the raw edges using the matching thread. Back stitch at the beginning and end of each seam.

Snip off the bottom corners.

Using the contrasting thread zig sag stitch along the raw edges of the sides and bottom of the bag.

Make sure to stitch right along the edge to contain the threads from the raw edges.

Turn the bag right sides out press the corners and you’re all done!

source : http://www.purlbee.com/2010/05/07/mollys-sketchbook-the-twenty-minute-tote/